How to start an indoor garden
Published 05/07/2021
Author: David Crandall
Last month, I tried to grow an indoor garden, which was abruptly interrupted by my cat, Ichi. More on that here.
I was pretty disappointed that the vast majority of my herbs were destroyed, but I was determined to persevere. Rather than keeping it super simple like before - planter, potting mix, seeds, water, and a couple of those red-blue LED lights.
While that did get my herbs to grow, they seemed to germinate slowly, I did deal with some mold and mushrooms, and -- of course -- my cat. So rather than starting over and expecting different results, I decided to up my game and address some of the issues I had with the first attempt.
And, I think I did it. I started some seeds just under a week ago, and almost everything has germinated and sprouted. Not only that, each plant looks significantly more vibrant and healthy compared to the first batch. What’s more, no mold, no mushrooms, no bugs, and no cat mess.
So what did I do? I made a grow station. And, I’m going to share exactly what I did, what I bought, how I put it together, and I’ll share how it’s going as it...goes!
How to start an indoor garden
Before I dive in too deep, here is the gist of what we’ll do:
Step 1: Get a shelf
Step 2: Get some full-spectrum lights that can be mounted to the underside of the shelves
Step 3: Get a timed power strip or outlet timer
Step 4: Put the shelf together, and use zipties or hooks with wire to hang/mount your lights
Step 5: Set the outlet timer to run from 6AM-8PM, giving your plants at least 14 hours of direct light -- up to 16 hours per day is perfectly fine in most cases.
Step 6: Start some seeds and set them in your cool new grow station!
Bear in mind, this is just the base plan -- which shelf you use, which lights you use - be it full spectrum LED’s, or 5500k shop lights - and how you mount your lights is entirely your prerogative. That being said, here are some tips to help improve the effectiveness of your indoor garden:
- If you intend to grow herbs or leafy greans, use full-spectrum LED’s or 5500k or higher shop lights instead of pink/magenta lights. These lights promote flowering more than root or leaf development. In personal experience, the amount of growth and flavor of the plants was significantly less desirable than when I used full spectrum LED’s to grow the same plants in the same mix.
- Consider using a shelf that let’s you adjust the spacing between each shelf at will. You will find germination rates tend to improve when they are 2-4 inches away from the lights, versus 10-12. The further away the plant is from the light source, the further the light must travel, and its heat and light intensity dilute significantly over the course of just a few inches.
- Depending on your climate, consider using a heating pad for your trays. Look into whether or not what you are planting is a warm weather crop or a cool weather crop. If it’s a warm weather crop, but you are in a zone that doesn’t warm up to the liking of your plant, using a heating pad can help keep the soil temperature warm and allow the plant to thrive. Conversely, if you live in a warm area and are doing a cool-weather crop, you can use clip-on fans without heating pads to ensure air flow to your plant.
The important thing is to give yourself shelving space and good lights. If you read on, you’ll see exactly which products I used to build my shelf.
A bit about the idea
There were a few problems I wanted to address outright:
I didn’t want my cats to be able to reach the plants, and wanted to make sure they had no interest in the first place. I decided the plants should be elevated and protected. \
Fungus & mushrooms were growing in my last batch, so I wanted to make sure I took precautions to prevent that from happening \
The quality of the herbs and their growth was stunted, likely by a combination of a week root system, overpopulation, and a lack of nutrition \
I wanted to be able to plant more than what I did before, so I wanted to make sure I could plant multiple pots or trays
In doing some research, I noticed a lot of people used some metal shelving and shop lights to start their plants. Some used fluorescent tubes, others used LEDs, from purple to full-spectrum. And this is basically what I wanted to do, but I don’t have enough space in my office for a 4-foot wide shelf.
Whatever I decide build would need to be under three feet wide, but have enough shelf space to hold everything I needed.
Supplies
Again, the supplies below are for the setup I did, but you can substitute with whatever fits your needs and budget best. Don’t let the specifics of each product prevent you from getting your grow on.
Required
- 1x 30” wide metal shelf
- 1x 8-pack 2ft linkable LED full-spectrum lights
- 1x surge-protector with timer
- 1x bag of zipties
Optional goodies
- Clip-on fans + 6ft or greater micro-usb 2.0 cables + USB A/C adapters
- Non-adhesive shelf-liner (to protect lights from water from the shelves above them)
- Cat spikes
- Heat pad with temperature gage
Simple instructions:
- Put the shelf together
- Zip-tie the lights to the shelves, evenly spaced with 4 lights per shelf. This will provide lighting for 2 shelves. If you need more, buy more lights.
- Run the cables to your surge protector with timer
- Use zip ties to keep the cables tidy and hidden, and to keep everything anchored to the shelf
- Setup your timer
- Plug it in and turn everything on
- Off to the races
For the optional stuff
- If you’re using the cat spikes, cut them to size and use zip-ties to mount then to the shelf
- If you’re using shelf liner, place them on the shelves and use scissors to cut corners, so they can lay flat. You can optionally mount them by cutting holes and using zip ties, or, if you’re using the cat spikes, mount the spikes over the shelf-liner using zip-ties.
- If you want some aeration for your plants, you can use clip-on fans. I’m using 2-per-shelf in my setup, but you may opt for fewer, more, or none at all. I do recommend buying longer USB charger cables for these so you can run them along the shelf with your other cables.
Some details
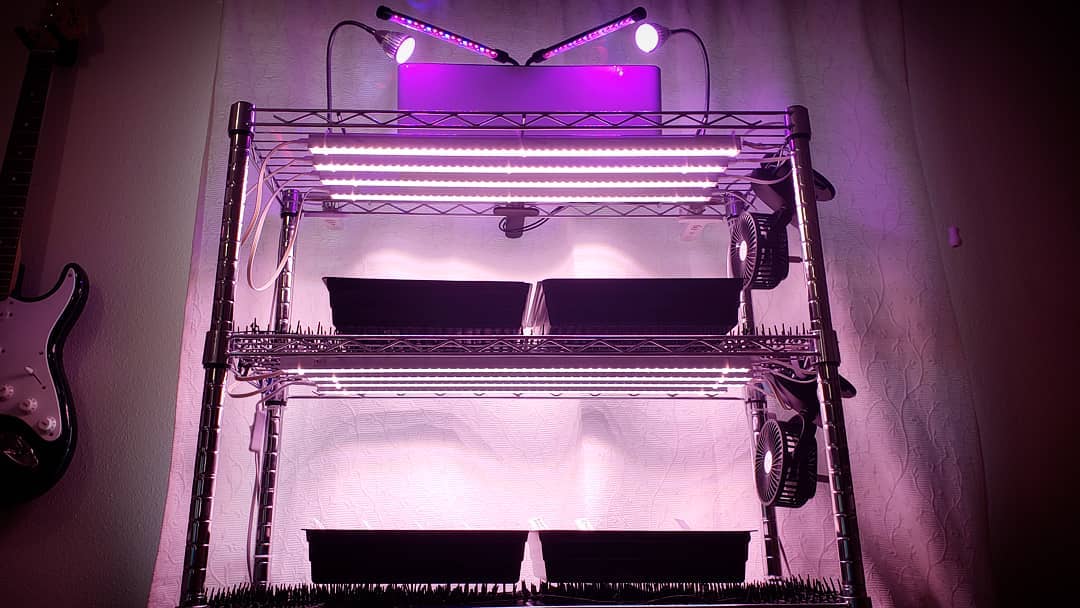
I decided to use a 30-inch metal shelf with wheels. I wanted to be able to move the grow station to other rooms if needed, and to be able to access the back to hook everything up.
For the lights, I bought a set of 8 LED full-spectrum linkable lights, 4 per plant-shelf. These lights are great because they don’t emit too much heat, but offer substantial light. I can position the pods close to the lights during the germination process if need be, and not risk overheating the seed or soil.
To keep the plants healthy and strong, I chose a coco coir starting mix, which gives the roots plenty of paths to grow. I’ve also used organic, granular potting mix containing a 5-5-5 NPK, which can work, but can burn your seedlings, as seedlings tend to not require much - if any - added nutrients during the germination cycle.
I sterilized this soil with boiling water before planting anything, and used mosquito bits to prevent fungus gnats, whose eggs can often be found in organic mixes. Sterilizing the soil and using these bits prevent these pesky gnats from flooding and infesting your home.
I also hooked up 2 small fans per shelf, so they can experience ‘wind’ to help their stems grow strong. This also helps dissuade pests from entering the soil.
To protect the plants from my cats, I opted for plastic cat spikes. I also got a motion-detecting spray if the spikes don’t do the trick. Haven’t had to use it, thankfully!
Lastly, to ensure consistent growth, I wanted to make sure there was a consistent lighting schedule, so I plugged all my lights into a surge protector with a timer. The timer provides power to the lights for 15 hours starting at 6AM, then shuts off until the following morning.
To protect the lights from spillage, I got some shelf-liner, which sits between the shelf and the cat-spikes.
To get everything attached, I got a bag of zip-ties. I started with the lights, then the shelf-liner and cat-spikes, then the fans. From there, I used zip-ties to run all my cables along the lining of the shelf, to keep them well hidden and anchored to the shelf. I then tied the surge protector to the shelf.
Keeping everything tied up this way allows me to simply unplug and wheel my grow-station to another area as needed. It also makes the entire thing temporary and fairly easy to reconfigure.
The Results
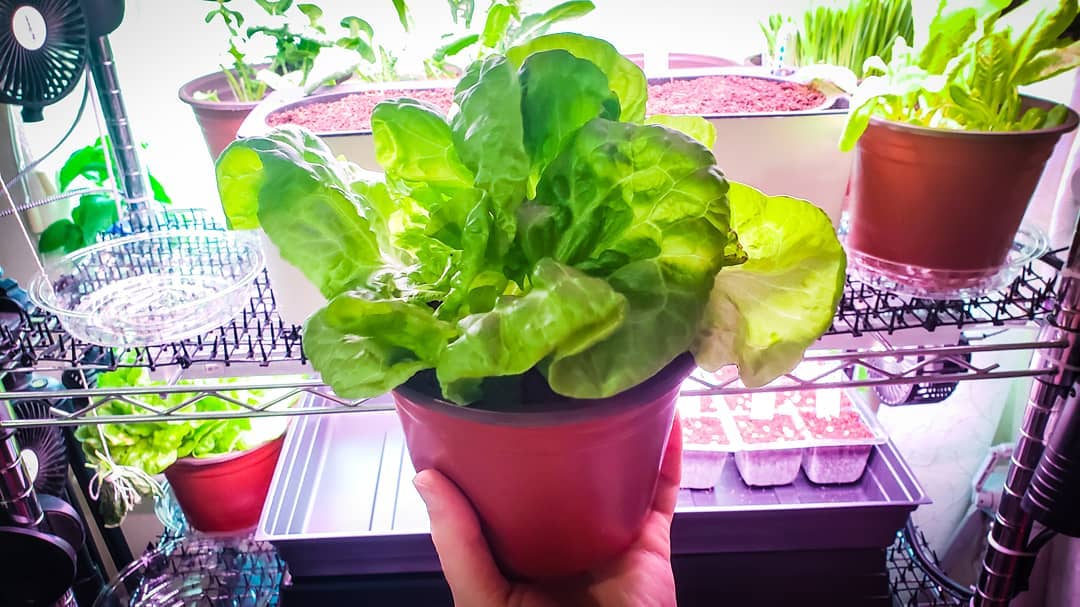
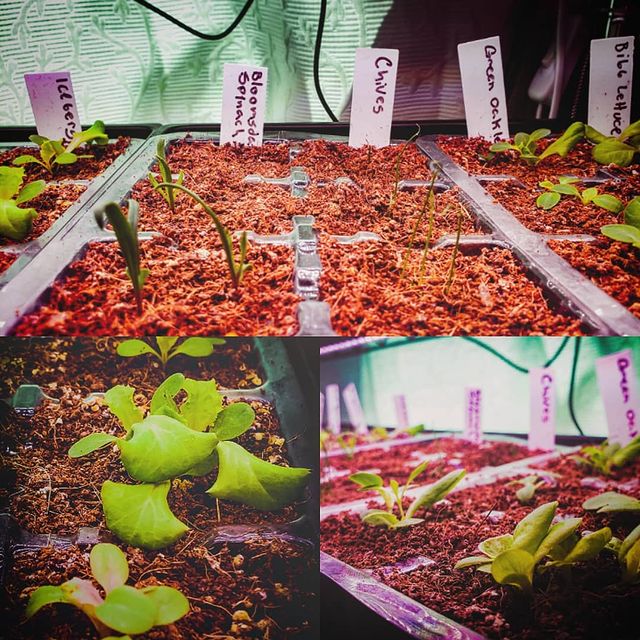
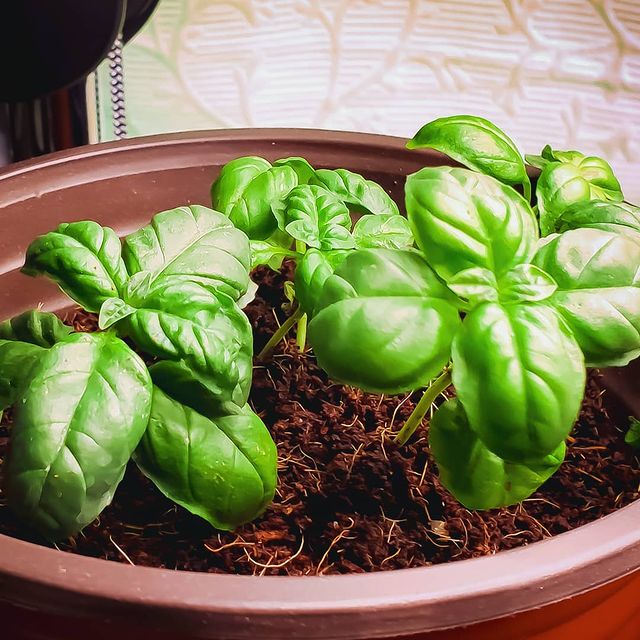
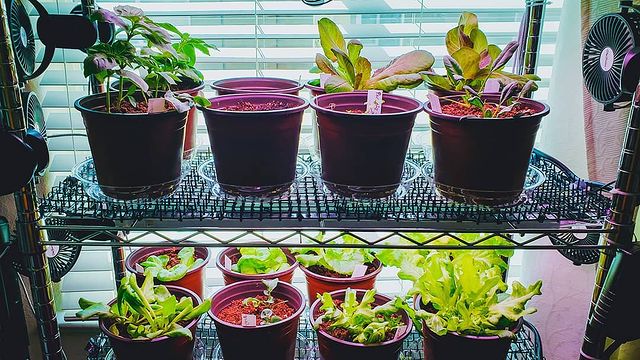
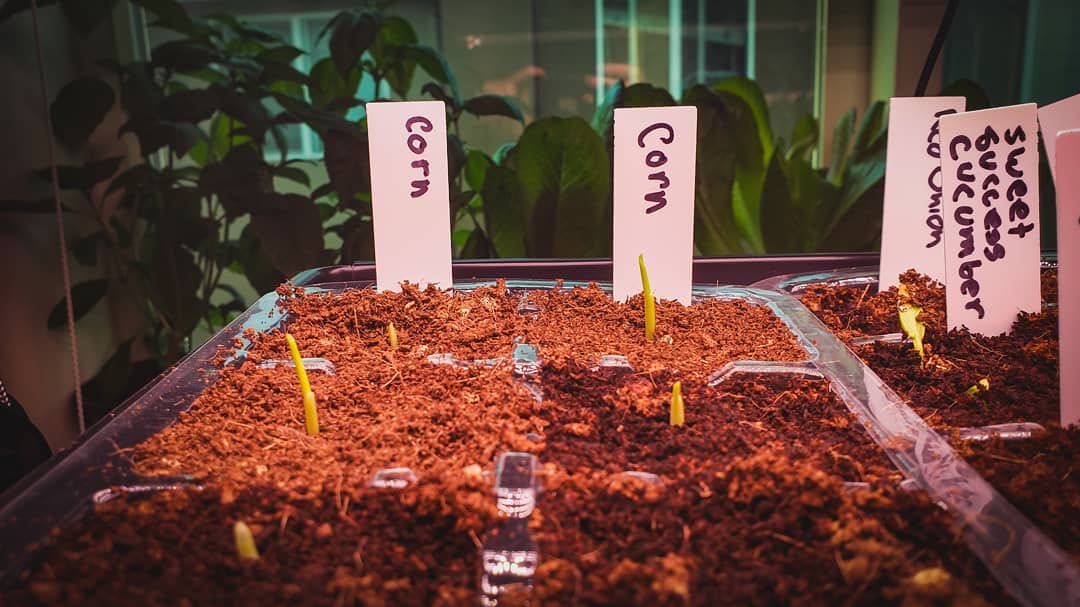
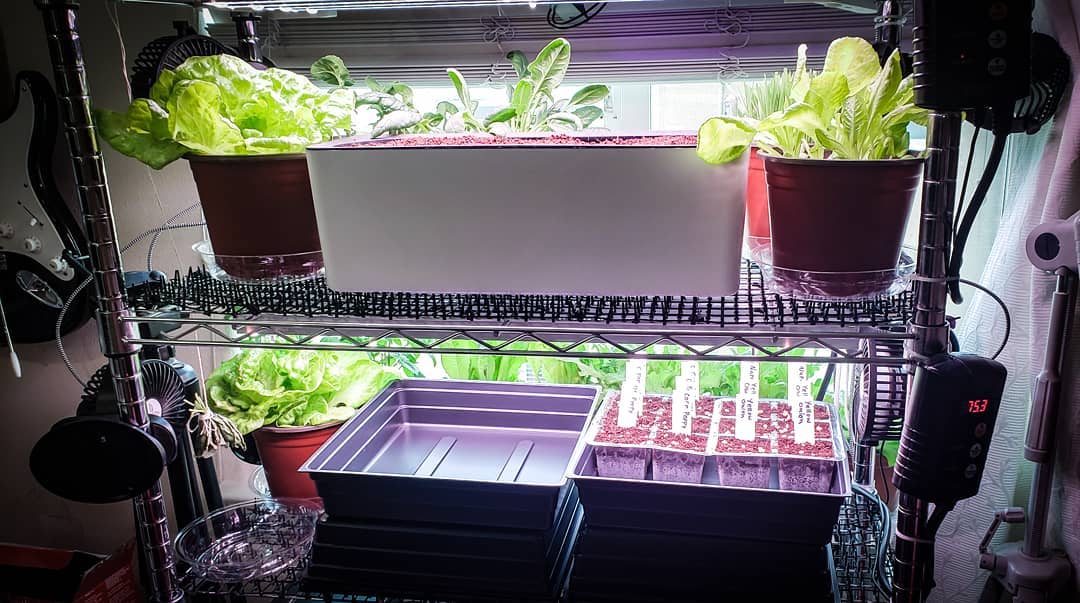
Some photos I’ve posted on my instagram below, showing a ton of germination and growth in under a week from sowing their seeds. Everything is thriving, growing vibrantly, and easily managed right here in my office.
Everything you see below is the result of the grow station -- from seed starts I transplanted outside, to full lettuce plants grown solely indoors!
I’ll be sharing updates every so often, so be sure to check back in form time to time.
Oh! I do take a lot of photos and post updates about my indoor garden on instagram -- consider following me there for updates!
Why stop there?
If you enjoyed this post, click the button below to read more from my blog!
See more posts
Leave a comment