Planting an indoor herb garden - part 1
Published 02/27/2021
Author: David Crandall
A quick intro…
I’m not a gardener. I admit it. I’ve really never been good at it. Don’t ask me to mow your lawn or trim your hedges unless you’re really into abstract art of the floral variety. But, I’ve always been keen on the idea of growing my own food and herbs.
I love making things, and food is no different. I’ve always liked cooking and, thanks to my extremely talented wife, have learned a TON about the culinary arts. My palate has expanded and I’ve come to appreciate a variety of textures and flavors I probably never would have otherwise.
In any case, my fascination for growing food started with basil -- my favorite herb. A while back I had decided to take an old planter pot in my backyard and plant some basil. I had no clue what I was doing, all I knew is that there was some sun in the backyard, and I had time.
It took a few weeks, but those seeds eventually sprouted. A month or so later, the plant had grown fully. I was pretty happy to harvest and use the leaves from the basil I had grown. There was something rewarding about watching it grow, and using it on that delicious pizza. Anyway, I’m getting carried away.
Since then I’ve made a few attempts to grow basil, and other herbs, but have been unsuccessful for one reason or another. Namely because of gnats. I had assumed that if I could just dump some soil into a pot and water it sometimes, then have a beautiful basil plant, and that made me a natural green thumb.
Wrong, dumb-dumb.
I never knew there was more work involved in this whole gardening thing. Nobody told me I had to sterilize my soil to kill fungus and gnat eggs that could hatch and fill your house with gnasty-ass gnats. Nobody told me it’s better for a root system and indoor planting to water from the bottom. No one told me how and when to use fertilizer to help my plants grow.
So, with all the bugs and slow growth, I would often take my starters and put them outside, to eventually be devoured by squirrels. With great ignorance comes great failure, spiderman.
However, that was then. It’s been a few years since my last utter failure and I’ve decided to pick up the old green thumb and try my hand at a small herb garden, right in my office. And, I thought I’d blog the process as I go.
Planning ahead
I decided to not be too stupid this time and do some research. I read many articles and watched some good youtube videos. In particular, I found this guy, Gary Pilarchik, who has these really straightforward videos about gardening; his most helpful for me were his videos about starting plants indoors and avoiding problems. I probably watched about 8 hours of this guy. I went down the Pilarchik rabbit hole.
Anyway -- I did some reading on preventing gnats in your indoor garden and found that your soil must be sterilized. There are a number of methods you can use to do this, from baking the soil in the oven, to microwaving it, to the method I chose and that I learned from Gary’s videos - which is mixing it with boiling water.
In all these sterilization methods, heat is used to kill any bacteria or gnat eggs harbored in the soil. The reason I like the boiling water method, is I need to water the soil in order for the seeds to germinate, anyway. Having the soil watered ahead of time will allow me to set my planter up without splattering water everywhere after the fact, and I can sow my seeds directly in the dampened soil.
Speaking of splatter, I also wanted to make sure I plant my seeds in something that allows for bottom watering. Most of you gardeners know this, but when you’re planting seeds, it can be very easy to drown them in water and stunt their germination. What’s more, roots grow downward, and it is therefore more efficient for the plant to absorb water from the bottom, where the roots are.
I also learned the importance of sterilizing after planting. Just because the soil is sterilized and fungus gnats and all that other crap in there is dead, doesn’t mean new fungus or new pests won’t show up. Luckily, Gary’s videos helped me with that, too. A great way to sterilize your soil and plants after sowing is using a 4:1 mixture of 30% Hydrogen peroxide and plain water in a spray bottle. Misting this mixture on your soil/plants will kill bacteria and other things that could attract pests.
So, big shoutout to Gary for all the awesome videos that really helped me get started.
Now that I have a solid plan for sterilizing and pre-watering my soil mixture, it’s time to actually spend some money and get all the stuff needed to make this thing work.
Supplies
I wanted to take a sec to layout some of the basic supplies I figured I’d need ahead of time.
- A planter box
- Herb seeds
- Soil
- Fertilizer
- Gardening lights (I just got some cheap LEDs that clip onto my desk)
- Labels - I eventually got actual garden labels, but at the time of sowing, I didn’t have them. So, I used some cardboard cutouts with marker
- Something to put the soil in while dumping the boiling water in it / letting it cool. I landed on a box with a small hole in which water can be poured to the bottom.
- Watering can with a narrow spout, as to be able to easily pour water and/or fertilizer into the bottom of the planter box.
- A misting spray bottle for the hydrogen peroxide / water mixture
Links to all m supplies will be provided.
The planter box
I decided that I want to grow multiple herbs, but I don’t want to take up too much space. I had toyed with a few ideas, from indoor wall-hanging planters, to individual pots. What I ultimately chose was a small, wideset planter that could fit 3-4 different plants.
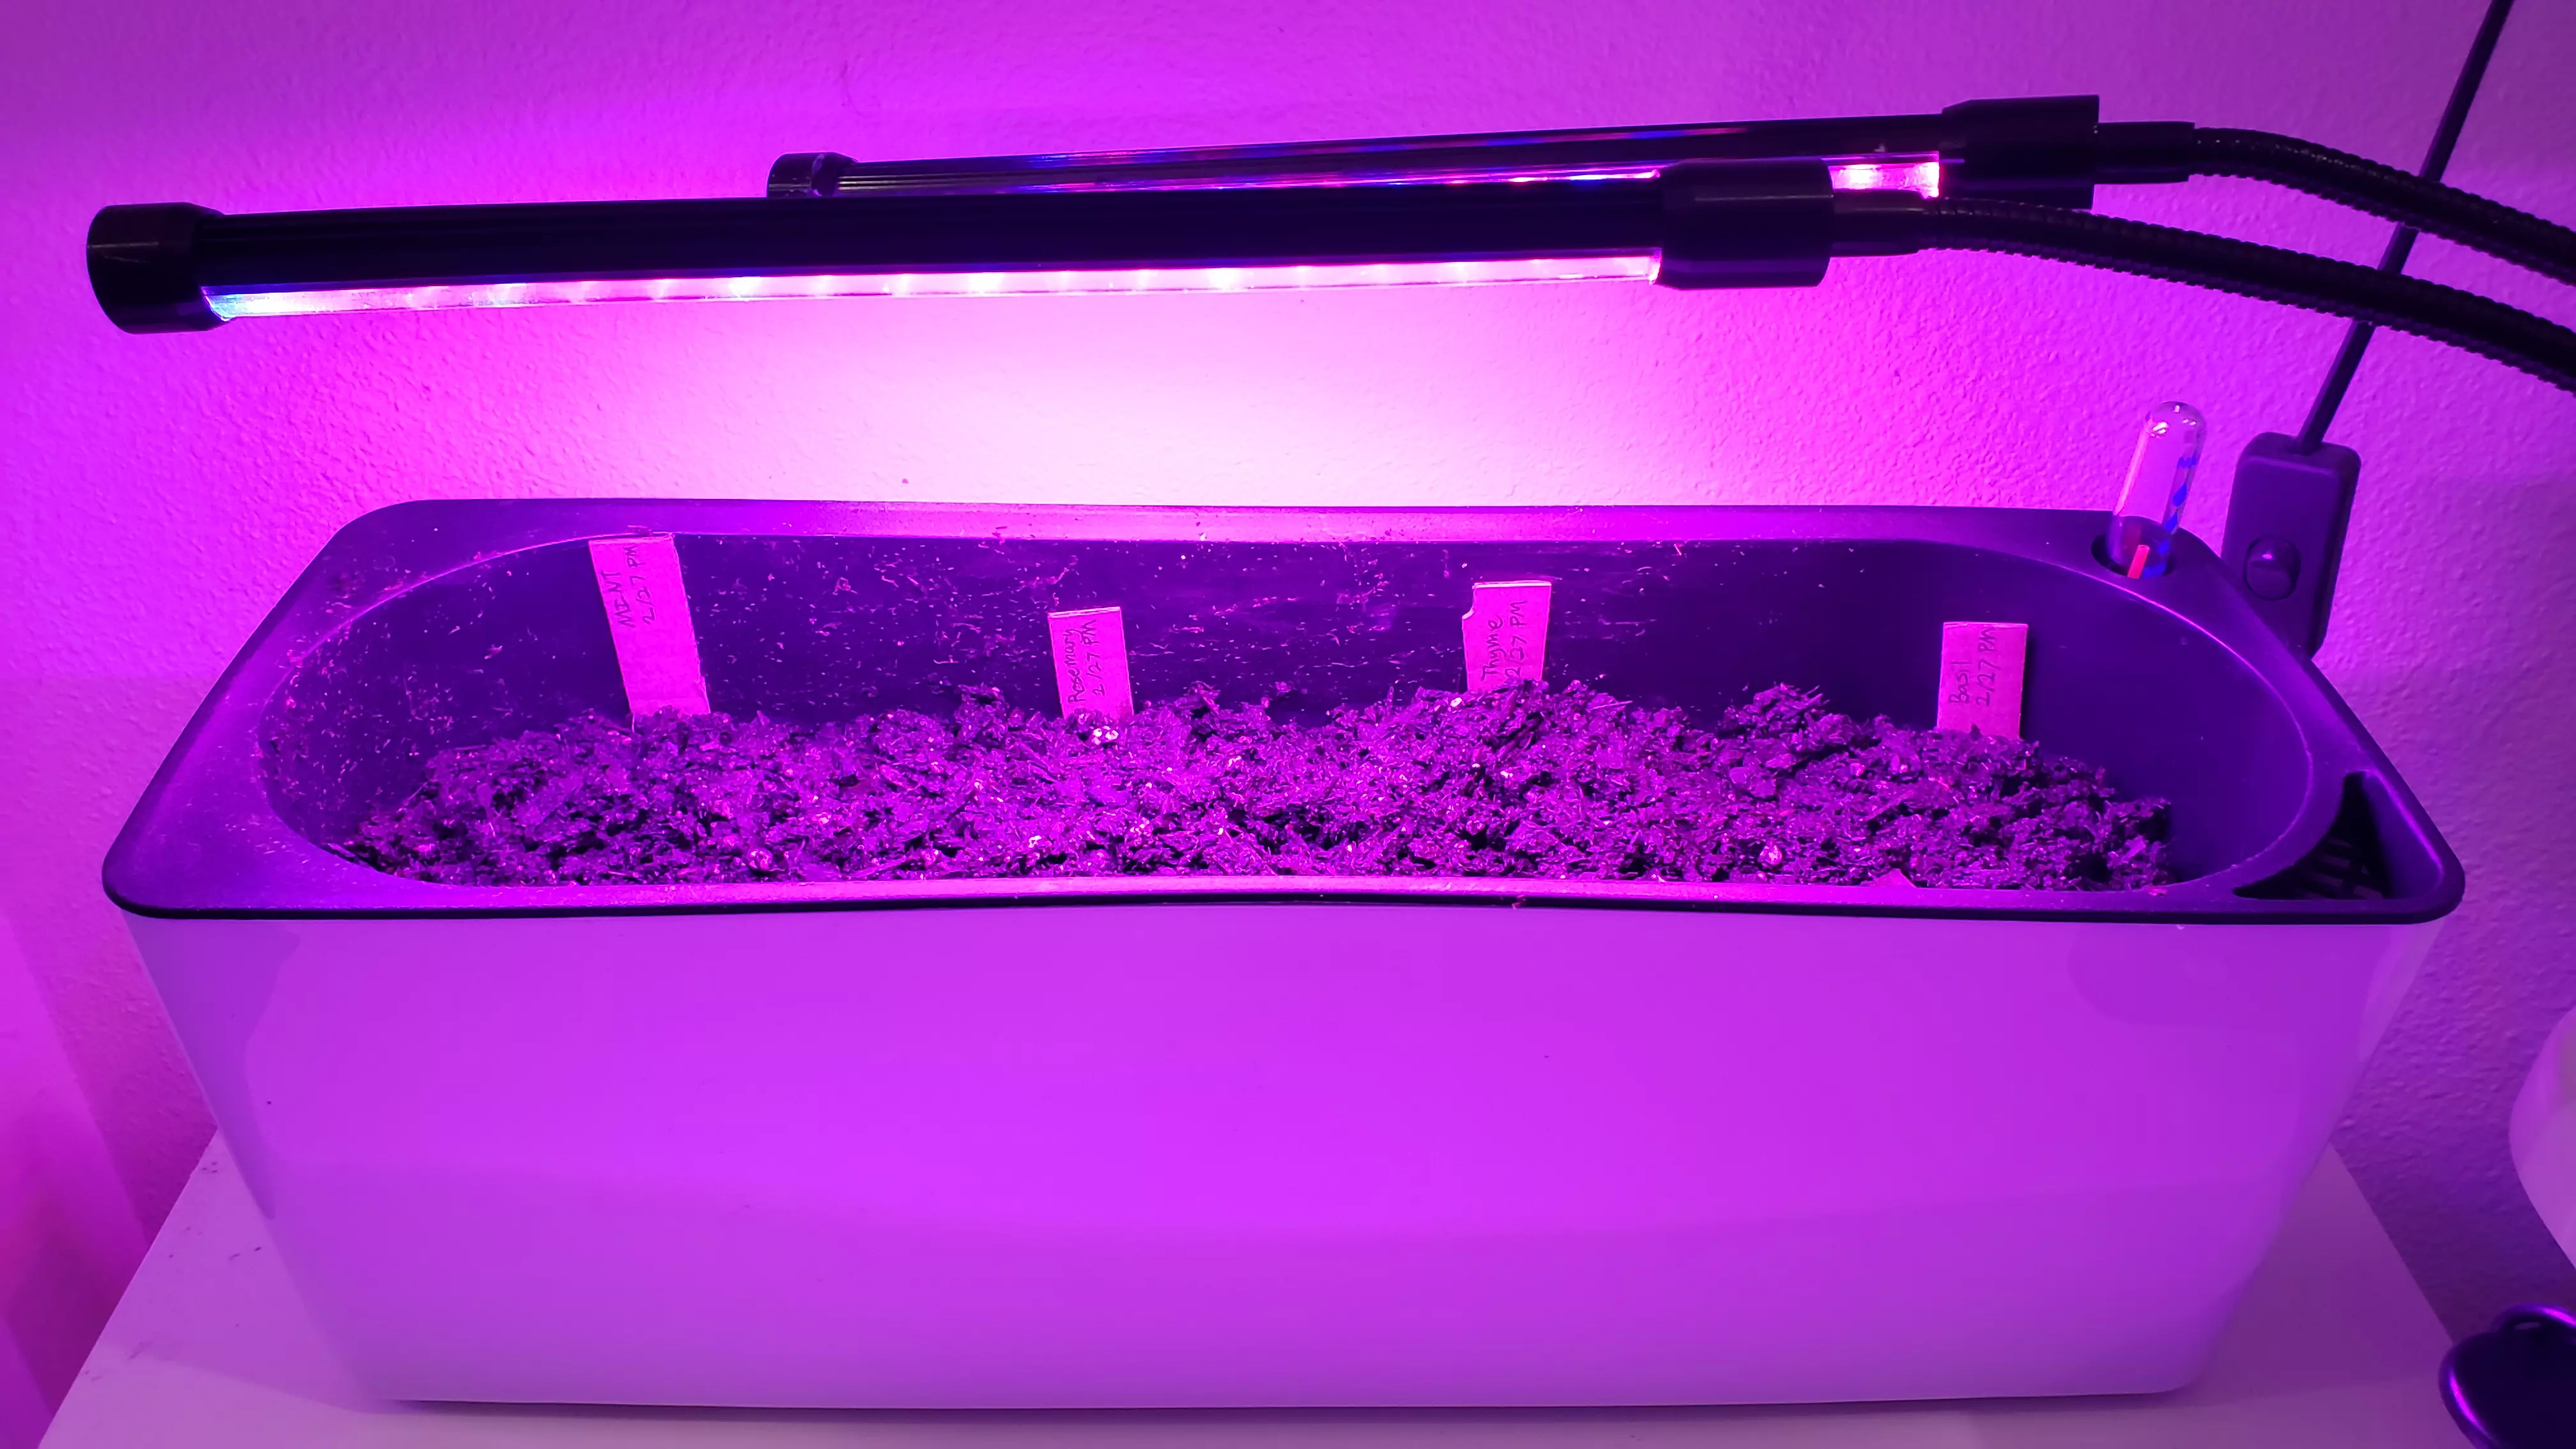
It has a black inner layer to hold the soil, which has multiple holes to absorb water from the bottom. The outer white shell holds water, and has an external meter to tell me how much water is in the planter, which will help me know how often to refill my planter.
Fertilizer and Soil
I didn’t do anything fancy here; I simply chose a basic soil made for vegetables, herbs, and indoor plants, and a water-soluble fertilizer.
The main thing I wanted to make sure was that I got a bag of fertilizer that was shipped in some form of resealable bag, and wasn’t some egregious amount. And, I wanted to make sure the fertilizer I chose was water soluble, so that I could simply mix some in with the water every so often.
The herbs
I wanted to make sure I chose herbs that smelled good, and offered a lot of use. I wanted to plant some things that could grow for years on end, and some that would die out after some time, so I could potentially repurpose the space for another plant.
**Mint **is one of my favorite herbs. It makes for a bright, beautiful, leafy plant with a refreshing scent. I use it in mint juleps, and my wife uses it when she makes Portuguese Sopas.
Basil is a given -- I succeeded once, and I could do it again! I love basil -- it goes well with almost everything. Pizza, sandwiches, salad, pizza sandwiches, salad pizzas, the list goes on. Pesto? Get the f**k out of my face.
Thyme is another herb I can’t do without. No steak is complete without a baste in hot butter with thyme. As you cook your steak in a pan, take a few nobs of butter and a couple sprigs of time and toss it in the pan. As the butter melts and submerges the thyme, baste your beef. Tell me I’m wrong.
Rosemary is a beautiful plant with a lovely smell, perhaps one of my favorite herb plants to simply smell. It’s aromatic scent is almost spicy, and it grows pine-like leaves and can sprout beautiful, purple flowers. It also makes for a great garnish in an Aviation cocktail, or can spruce up a stew.
Rosemary, thyme, and mint are all perennial herbs, meaning they will continue to grow year after year.
Sterilizing the soil
First thing’s first, we gotta get rid of any bugs, eggs, or living organisms that could develop into diseases to harm the plant, or hatch and fly around and be gnats. I hate gnats. Anyway.
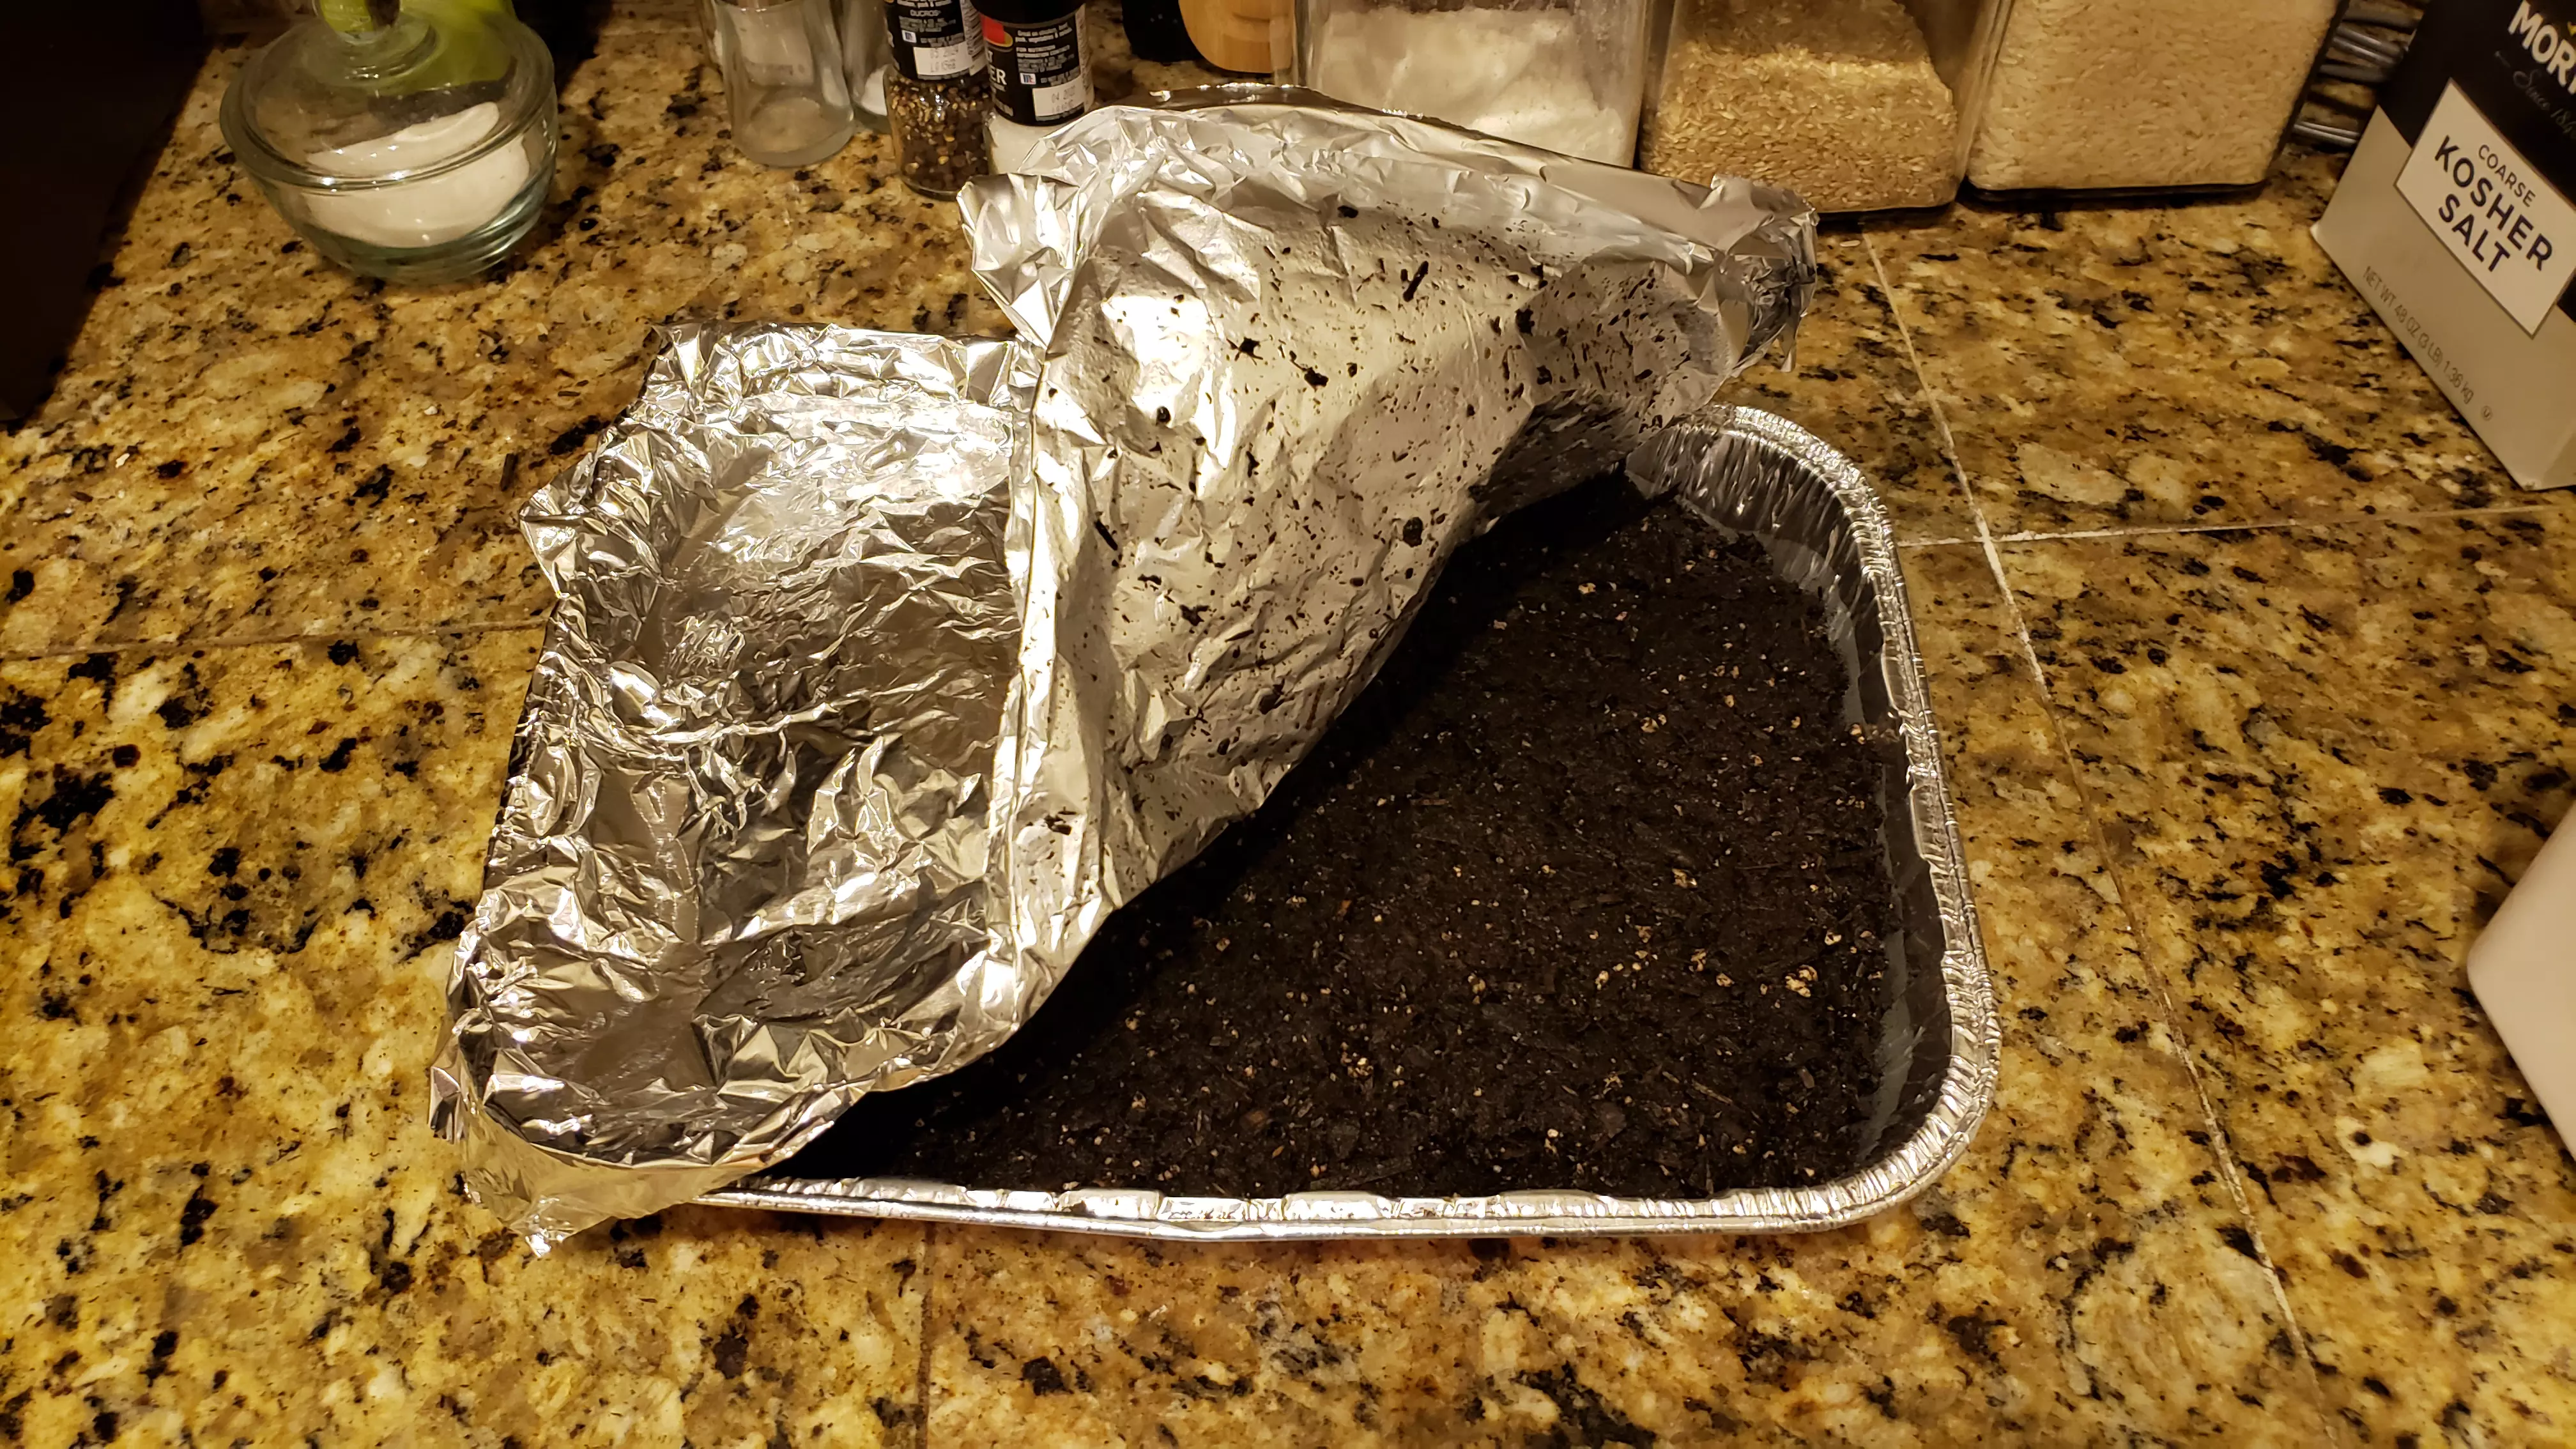
As mentioned, I did the boiling-water method. I simply put my soil into two baking pans, and dumped some boiling water in them -- just enough to soften and wet the soil. I wanted to make sure the soil didn’t get overly drenched or turn to mush, so I filled it slowly and stirred it in until it was to my liking.
After dampening the soil, it condensed, and I was able to combine the soil down to one single container. I covered the baking pan with some foil and let it chill at room temp for a couple of hours.

Once the soil was under 75 degrees fahrenheit, I figure it was safe to move onto the next step.
Planting the seeds
The next step was to transfer the soil from the baking pan to the planter, and plant the seeds. Since the stoil was still rather damp, I didn’t need to water anything just yet. All I did was place the seeds on the surface, equally distanced a few inches apart.
Now, I realize this may not give the plants a ton of room to grow, but I do not need huge plants, and may transfer these to larger pots at a later time -- who knows! Stop trying to ruin my fun.
All the seeds were placed about an 18th inch or so under the soil, except the mint. Mint seeds are extremely small compared to the other seeds, so they don’t need to be placed as deep.
Each section was labeled with some cardboard cutouts, and dated.
Once planted, they were ready to sit under the LEDs next to my desk in my office over night.

Waiting for sprouts
I started writing this article a couple of days ago, and as of yet we have no sprouts. However, the top layer of soil is slowly starting to dry. So within the next day or two, I’ll be watering my soil for the first time.
Check in for my next blog post, where I’ll talk about maintaining the mixture, post photos of my herbs sprouting, etc. Come along with me as I grow some new life.
Why stop there?
If you enjoyed this post, click the button below to read more from my blog!
See more posts
Leave a comment